


How Pros Clean Their Cleaning Supplies (So They Last Longer)
Cleaning tools come into contact with dirt, grease, dust, bacteria, and cleaning chemicals every day. But while professionals spend their time cleaning everything else, the tools doing the work are often overlooked.
Dirty cleaning supplies don’t just become less effective, they can spread soil, develop odors, and wear out much faster than they should. A clogged microfiber cloth won’t absorb as well, a dirty vacuum filter reduces suction, and a scrub brush packed with residue simply can’t clean as effectively.
Professional cleaners know that taking care of their equipment is one of the easiest ways to get better results while making their tools last longer.
At a Glance
Professional cleaning tools last longer and perform better when they’re maintained regularly. Jump to any tool below:
- Microfiber Cloths
- Microfiber Mop Pads
- Flat Mop Frames
- Scrub Brushes
- Detail Brushes
- Vacuum Cleaners
- Vacuum Attachments
- Spray Bottles & Triggers
- Cleaning Buckets
- Brooms
- Squeegees
- Toilet Brushes
- Cleaning Gloves
- Extension Poles & Handles
- Cleaning Caddies
Regular maintenance doesn’t just protect your investment—it also improves cleaning results, helps prevent cross-contamination, and reduces the need to replace expensive tools prematurely.
Cleaning Supply Maintenance Schedule
| Cleaning Tool | Clean After Every Use | Deep Clean | Replace When |
|---|---|---|---|
| Microfiber cloths | ✓ | Monthly (or as needed) | Fibers lose performance or become damaged |
| Microfiber mop pads | ✓ | Weekly | Hook-and-loop backing or fibers wear out |
| Scrub brushes | ✓ | Monthly | Bristles become bent or flattened |
| Detail brushes | ✓ | Monthly | Bristles fray or loosen |
| Squeegees | ✓ | Weekly | Rubber blade becomes nicked or streaks |
| Spray bottles | Empty & rinse | Monthly | Trigger clogs or fails |
| Vacuum canister & attachments | Empty after use | Monthly | Parts crack or lose performance |
| Vacuum filters | — | Per manufacturer | Filter no longer cleans effectively |
| Cleaning buckets | ✓ | Weekly | Cracked or difficult to sanitize |
| Flat mop frames | Wipe down | Monthly | Frame bends or hook strips fail |
| Extension poles | Wipe down | Quarterly | Locks or threads no longer hold |
| Brooms | Remove debris | Monthly | Bristles permanently splay |
| Toilet brushes | Rinse thoroughly | Weekly | Bristles deform or retain odors |
| Cleaning caddy | Wipe spills | Monthly | Cracked or difficult to clean |
Why Professional Cleaners Clean Their Equipment
Most cleaning supplies don’t fail because they’re poor quality, they fail because dirt, detergent residue, minerals, and moisture are allowed to build up over time.
Microfiber fibers become coated with detergent and fabric softener residue. Vacuum filters clog with fine dust. Brushes trap grease and hair deep within their bristles. Even spray bottle triggers can become clogged with dried cleaning solution.
Besides reducing cleaning performance, neglected tools can also increase the risk of cross-contamination.
The Centers for Disease Control and Prevention (CDC) recommends cleaning reusable cleaning equipment between uses because dirty tools can transfer contaminants from one surface to another instead of removing them. Cleaning should always come before disinfecting, as removing visible soil allows disinfectants to work more effectively.
Proper maintenance offers several benefits:
- Better cleaning performance
- Longer equipment lifespan
- Fewer odors
- Less cross-contamination
- Lower replacement costs
- More consistent cleaning results
Think of it as preventative maintenance. Spending five minutes cleaning your equipment today can save you from replacing it months earlier than necessary.
READ NOW: Why The Cleaning Supplies You Use Are Important to Your Business
1. Microfiber Cloths
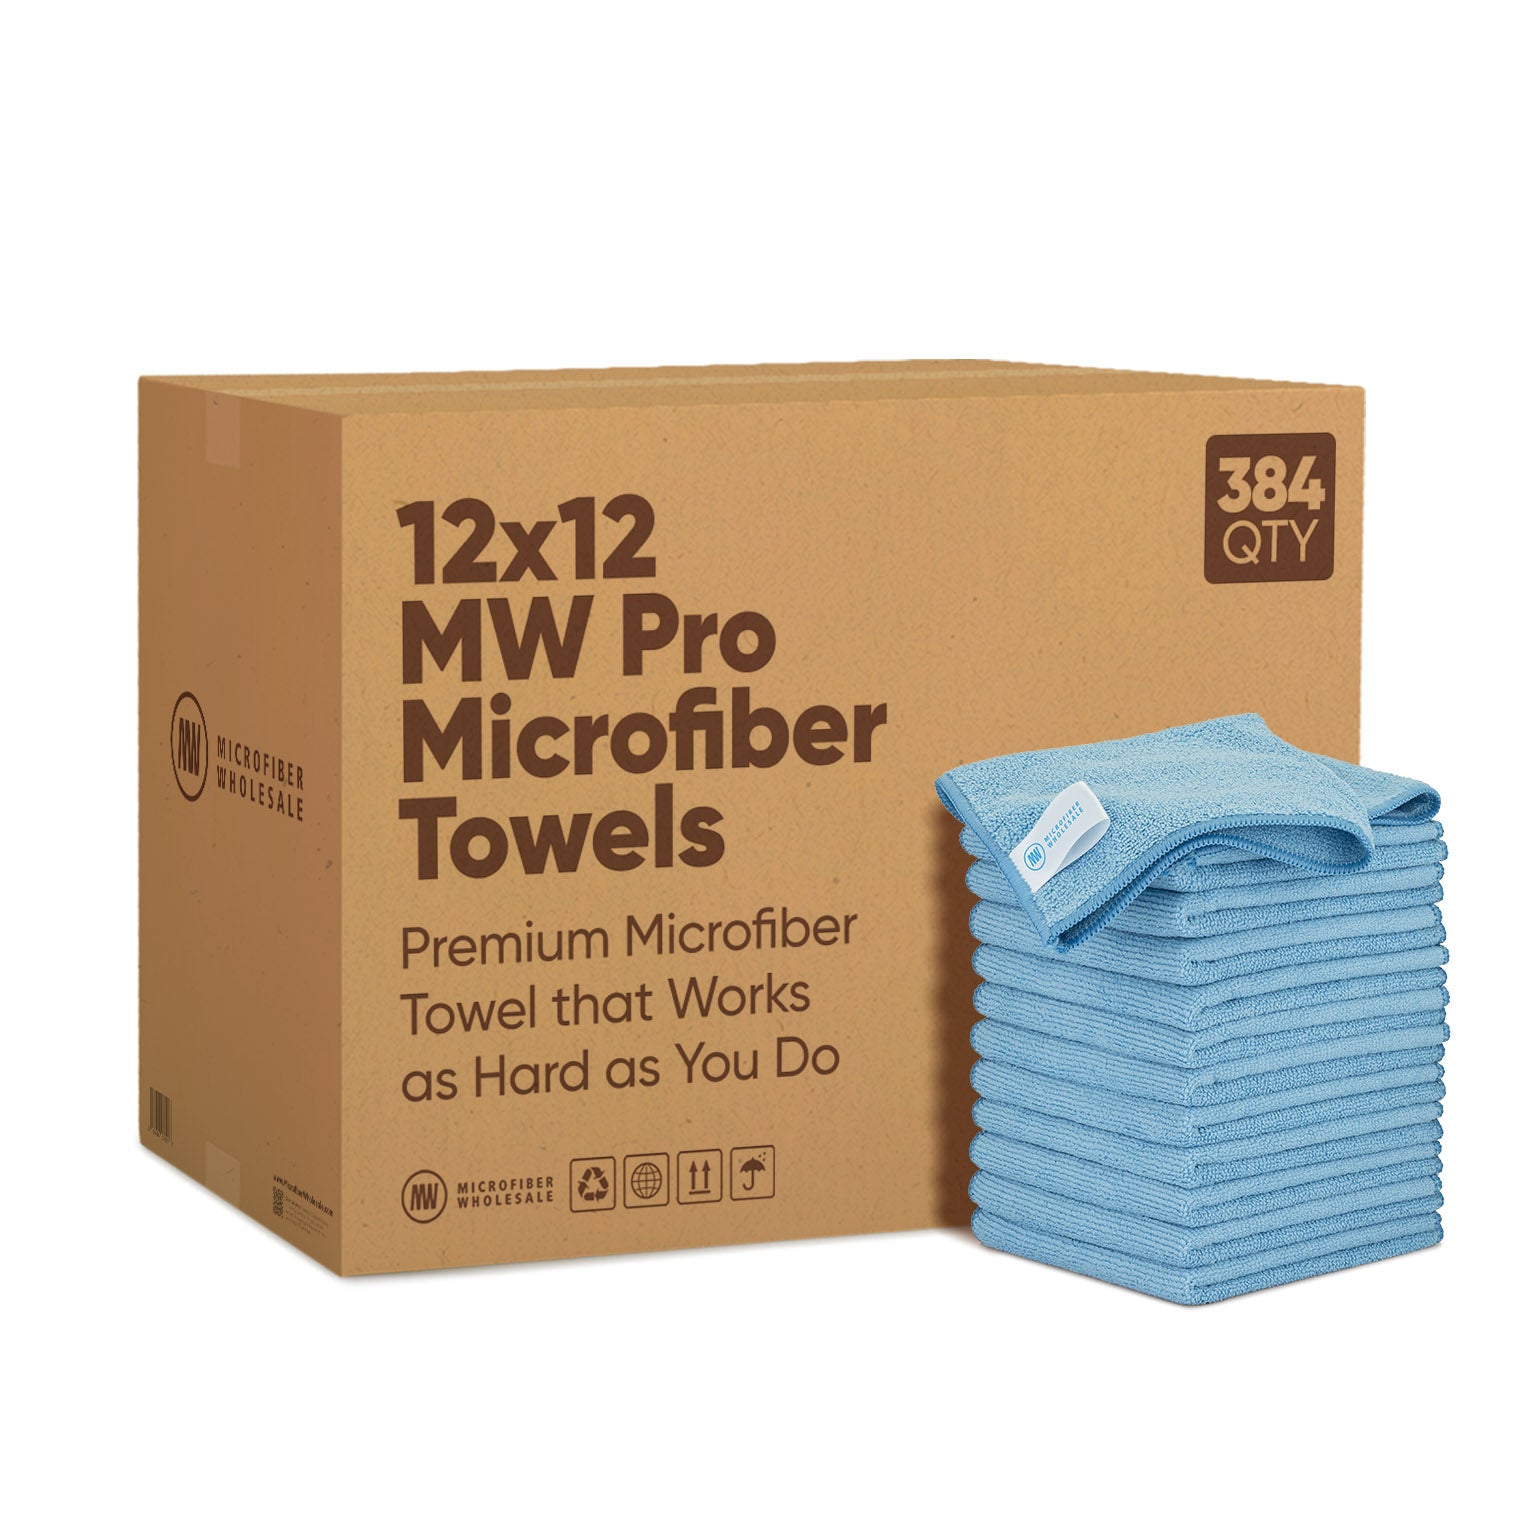
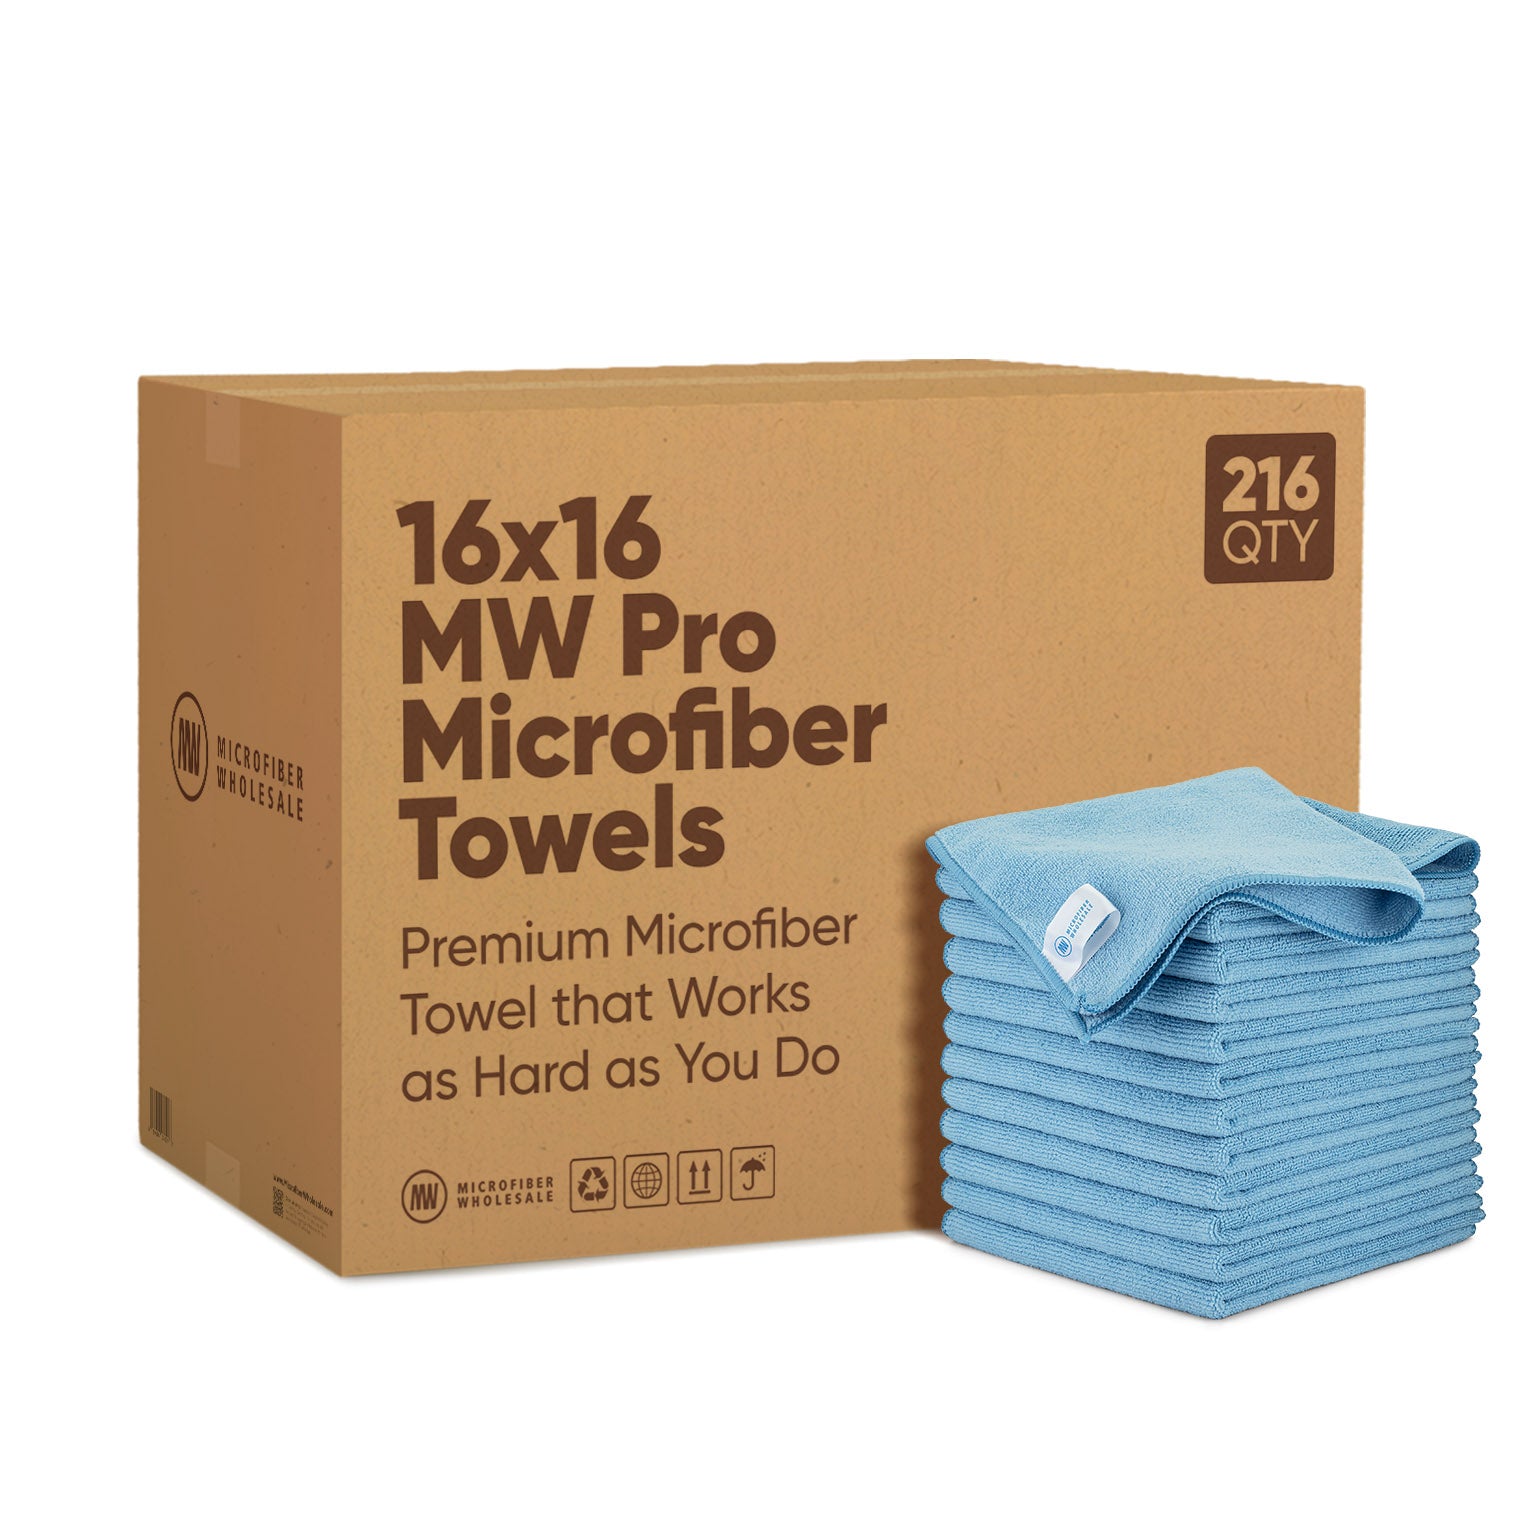
Microfiber cloths are arguably the hardest-working tool in a professional cleaner’s kit. They trap dust, absorb spills, lift grease, and remove microscopic particles from surfaces, but only if the fibers remain clean and open.
Over time, detergent residue, oils, minerals from hard water, and lint can clog those fibers, reducing absorbency and cleaning performance.
Clean After Every Use
After each job:
- Shake out loose debris.
- Separate heavily soiled cloths from lightly used ones.
- Wash as soon as practical.
Avoid letting dirty microfiber sit damp in a bucket or laundry bag for extended periods, as this can encourage odor-causing bacteria and mildew.
Machine Washing
Wash microfiber using:
- Warm water
- Liquid detergent (free of fabric softener)
- A normal wash cycle
Avoid:
- Fabric softener
- Dryer sheets
- High heat
- Washing with cotton towels
Cotton lint can become embedded in microfiber and reduce its effectiveness.
Deep Cleaning
If microfiber begins feeling stiff or loses absorbency:
- Soak in hot water with microfiber detergent.
- Wash normally afterward.
- Air dry or tumble dry on low heat.
Extend Its Lifespan
Professionals often color-code microfiber cloths by cleaning task, reducing cross-contamination and minimizing excessive laundering.
Rather than using the same cloth repeatedly throughout the day, rotate through several clean cloths.
When to Replace
Replace microfiber when:
- It no longer absorbs well.
- Fibers feel rough or matted.
- Stitching begins to fail.
- It leaves lint behind after washing.
Research Spotlight
Studies published in the American Journal of Infection Control have found that properly laundered microfiber cloths retain excellent cleaning performance through repeated wash cycles, supporting the importance of correct laundering rather than premature replacement.
READ NOW: How to Wash Microfiber Towels the Right Way (Without Ruining Them)
2. Microfiber Mop Pads
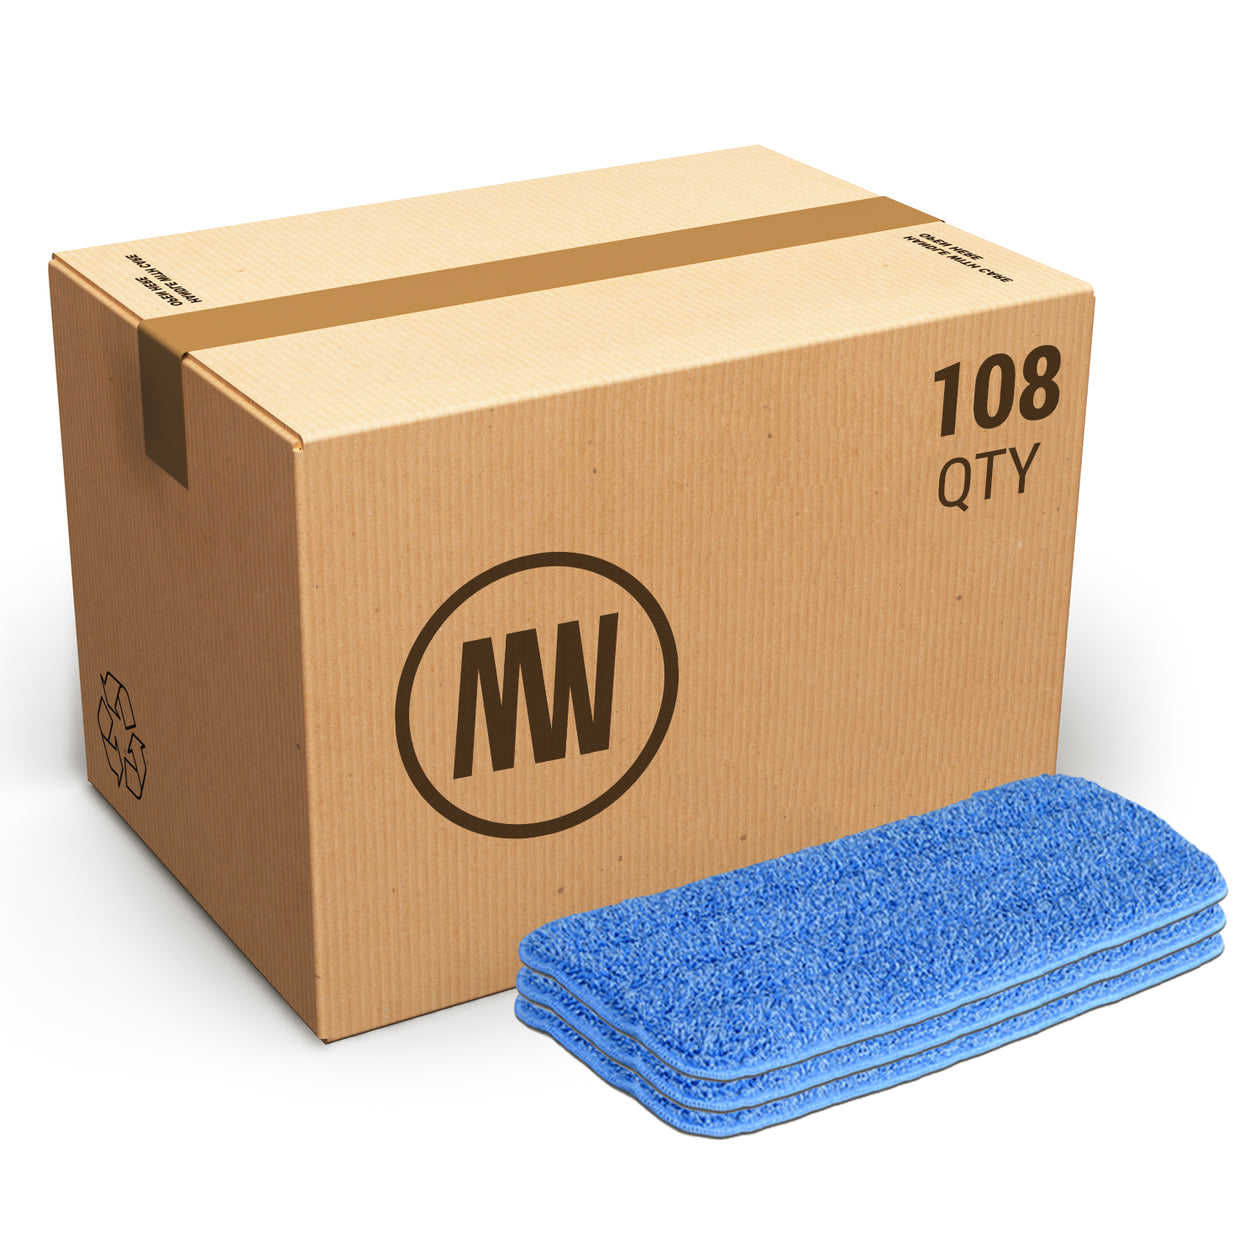
Mop pads collect an incredible amount of dirt during every cleaning session.
Leaving that soil embedded in the fibers not only reduces cleaning performance but can also increase wear on the fabric over time.
Immediately After Use
As soon as you’re finished:
- Remove the pad from the frame.
- Rinse thoroughly under running water.
- Gently squeeze out excess water.
This removes a surprising amount of soil before the pad ever reaches the washing machine.
Machine Washing
Wash mop pads separately from cotton products using the same care guidelines as microfiber cloths.
Avoid chlorine bleach unless recommended by the manufacturer, as repeated exposure can shorten the life of some fibers and stitching.
Deep Cleaning
For heavily soiled pads:
- Soak before washing.
- Remove lint from the hook-and-loop backing.
- Inspect stitching for loose threads.
Extend Their Lifespan
One habit professionals swear by: rotate multiple mop pads.
Using four or five pads in rotation allows each one to dry completely between uses and reduces overall wear.
When to Replace
Replace pads when:
- Hook-and-loop backing no longer grips.
- Fibers remain matted after washing.
- The pad no longer glides smoothly across the floor.
3. Flat Mop Frames
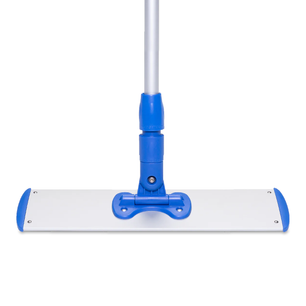
The pad isn’t the only part of a flat mop that needs attention.
Hair, lint, adhesive residue, and cleaning solution often accumulate around the hook-and-loop strips and swivel joint.
After Every Use
- Wipe the frame with a damp microfiber cloth.
- Remove debris from the hook strips.
- Check for dried detergent buildup.
Monthly Maintenance
Inspect:
- Swivel joints
- Locking mechanisms
- Hook-and-loop strips
- Bent frame edges
A warped frame can reduce floor contact and even scratch delicate flooring.
Extend Its Lifespan
Never store the frame with a damp mop pad attached.
Moisture trapped against the hook backing can reduce its grip over time.
4. Scrub Brushes
Scrub brushes may look clean after a rinse, but soap residue, grease, and hair often remain deep between the bristles.
Over time, this buildup reduces scrubbing effectiveness and can create unpleasant odors.
After Every Use
- Rinse thoroughly with warm water.
- Remove trapped hair.
- Shake out excess water.
- Allow to air dry with the bristles facing downward or hanging.
Deep Cleaning
Every few weeks:
- Soak the bristles in warm water with detergent.
- Use another brush or comb to clean between the bristle rows.
- Rinse thoroughly.
- Air dry completely.
Extend Their Lifespan
Avoid storing brushes in standing water.
Constant moisture weakens adhesives and can permanently bend the bristles.
When to Replace
Replace brushes when:
- Bristles become flattened.
- Bristles fall out.
- Cracks develop in the handle.
5. Detail Brushes
Small detail brushes are excellent for grout, fixtures, vents, tracks, and tight corners, but they wear faster than larger scrub brushes because they’re often used with more pressure.
Clean After Every Use
- Rinse thoroughly.
- Remove trapped debris.
- Let dry completely before storing.
Monthly Maintenance
Inspect for:
- Bent bristles
- Loose ferrules
- Cracked handles
Replacing an inexpensive detail brush before it wears out completely can help prevent accidental scratches on delicate surfaces.
6. Vacuum Cleaners

A vacuum is one of the most expensive tools in a professional cleaner’s kit, but it’s also one of the easiest to neglect. Regular maintenance keeps suction strong, improves cleaning performance, and helps the motor last longer.
Empty It Often
Whether your vacuum uses a bag or a canister, don’t wait until it’s completely full.
A full vacuum restricts airflow, forcing the motor to work harder and reducing suction. As a general rule, empty bagless canisters after each job and replace vacuum bags when they’re about two-thirds full.
Clean or Replace Filters
Many vacuums include one or more filters that trap fine dust before it’s exhausted back into the air.
Washable filters should be cleaned according to the manufacturer’s recommendations and allowed to dry completely before reinstalling. Disposable filters should be replaced on schedule rather than cleaned.
Check the Brush Roll
Hair, thread, carpet fibers, and string can quickly wrap around the brush roll.
Every few weeks:
- Remove tangled debris.
- Check for worn bearings.
- Inspect the belt (if applicable).
A clean brush roll allows the vacuum to agitate carpet properly without putting unnecessary strain on the motor.
Wipe Down the Exterior
Finish by wiping the vacuum with a damp microfiber cloth to remove dust and fingerprints.
Extend Its Lifespan
Never store a vacuum with a full canister or bag. Emptying it before storage reduces odors and prevents fine dust from settling inside the machine.
When to Replace Parts
- Replace filters according to the manufacturer’s schedule.
- Replace belts if cracked or stretched.
- Replace brush rolls once the bristles become worn.
Research Spotlight
The U.S. Environmental Protection Agency (EPA) recommends using high-efficiency filtration, such as HEPA filters, to help reduce airborne particles and improve indoor air quality.
7. Vacuum Attachments
Crevice tools, upholstery brushes, dusting brushes, and extension wands pick up the same dirt as the vacuum itself—but they’re rarely cleaned.
Monthly Maintenance
- Remove trapped lint and hair.
- Wash plastic attachments with warm soapy water.
- Dry thoroughly before reconnecting.
Dust brushes should be cleaned regularly to prevent them from transferring dust back onto freshly cleaned surfaces.
READ NOW: How Cleaning Pros Set Their Supplies Up For The Day
8. Spray Bottles & Triggers
Cleaning solutions eventually leave residue inside spray bottles and trigger mechanisms.
Over time, triggers can clog, spray unevenly, or stop working altogether.
Monthly Cleaning
- Empty remaining solution.
- Rinse several times with warm water.
- Fill with clean water and spray repeatedly until the trigger runs clear.
- Allow bottles to dry before refilling.
Extend Their Lifespan
Keep dedicated bottles for each product rather than switching chemicals between the same bottle.
Always label bottles clearly.
9. Cleaning Buckets

Buckets collect far more than dirty water.
Soap residue, hard water minerals, and grime gradually build up inside, making them surprisingly dirty.
After Every Use
- Empty immediately.
- Rinse thoroughly.
- Wipe dry before storing.
Weekly Maintenance
Wash the bucket using warm water and detergent, paying special attention to corners, handles, and pouring spouts.
If your bucket has caster wheels, remove hair and debris that can prevent them from rolling smoothly.
10. Brooms
A dirty broom can’t effectively collect dust—it simply pushes debris around.
Every Few Uses
- Pull away wrapped hair.
- Remove large debris by hand.
Monthly
Wash synthetic bristles using warm water and mild detergent.
Rinse thoroughly and hang upside down to dry so moisture doesn’t collect around the base.
Replace When
- Bristles permanently fan outward.
- Large sections become bent.
- The broom no longer sweeps effectively.
11. Squeegees
Most streaks aren’t caused by the glass—they’re caused by a dirty or damaged blade.
After Every Use
- Wipe the rubber blade with a clean microfiber cloth.
- Remove soap residue.
- Inspect for debris stuck to the edge.
Weekly
Remove the blade from the channel and wash both pieces separately.
Replace When
Replace the rubber once it develops nicks, tears, or leaves streaks that can’t be corrected with cleaning.

12. Toilet Brushes

Toilet brushes are one of the few cleaning tools that require cleaning after every single use.
After Cleaning
Flush the toilet while rinsing the brush beneath clean water.
Shake off excess water before returning it to its holder.
Allow the brush to drip dry as much as possible before storing.
Weekly
Wash both the brush and holder with warm soapy water and allow them to dry completely.
Replace When
Replace toilet brushes if:
- Bristles flatten.
- They retain odors after cleaning.
- The handle becomes cracked.
13. Cleaning Gloves
Reusable gloves protect your hands—but they also collect chemicals, dirt, and bacteria.
After Every Use
Rinse the outside of the gloves before removing them.
Then wash both the inside and outside using mild soap and warm water.
Hang them to dry completely.
Replace When
Discard gloves that develop:
- Holes
- Cracks
- Sticky surfaces
- Loss of elasticity
14. Extension Poles & Handles
These tools often last for years—but only if they’re maintained.
Monthly
- Wipe down the pole.
- Clean adjustment collars.
- Remove dried detergent.
- Inspect threaded ends.
Keeping telescoping mechanisms clean helps prevent them from sticking or slipping during use.
15. Cleaning Caddies
Everything eventually ends up at the bottom of a cleaning caddy—dust, chemical residue, broken trigger nozzles, bottle caps, and dirt.
Monthly
- Remove every item.
- Vacuum loose debris.
- Wash with warm soapy water.
- Dry completely before restocking.
Take the opportunity to throw away empty bottles and reorganize your supplies.
Common Mistakes That Ruin Cleaning Supplies

Even high-quality tools wear out quickly when they’re cared for incorrectly.
Some of the most common mistakes include:
Using Fabric Softener on Microfiber
Fabric softener coats the fibers, reducing their ability to trap dirt and absorb liquids.
Leaving Microfiber or Mop Pads Damp
Storing damp tools encourages mildew, unpleasant odors, and bacterial growth.
Letting Mop Pads Sit in Dirty Water
The longer dirt remains trapped in the fibers, the harder it becomes to remove.
Never Cleaning Vacuum Filters
A clogged filter reduces airflow, decreases suction, and forces the motor to work harder.
Storing Brushes Bristle-Down
Constant pressure bends bristles permanently, reducing scrubbing performance.
Never Rinsing Spray Bottle Triggers
Dried chemicals eventually clog internal parts and ruin the spray pattern.
Mixing Chemicals in Reused Bottles
Even small amounts of leftover product can react with a different chemical. Always clean bottles thoroughly and never mix incompatible cleaners.
Ignoring Worn Parts
Replacing an inexpensive squeegee blade, vacuum belt, or mop pad at the right time often prevents larger—and more expensive—problems later.
READ NOW: Why Microfiber Is the Best Tool for Cleaning
Take Care of Your Tools, and They’ll Take Care of You
Professional cleaners don’t just invest in quality equipment—they invest in maintaining it.
Whether it’s washing microfiber correctly, cleaning vacuum filters, rinsing scrub brushes, or inspecting mop frames, these simple habits help tools clean better, last longer, and deliver more consistent results.
Taking care of your cleaning supplies isn’t just about protecting your investment. It’s about making every cleaning job faster, more effective, and more professional.
Frequently Asked Questions
How often should microfiber cloths be washed?
Microfiber cloths should be washed after every cleaning job to remove dirt, oils, and detergent residue that reduce cleaning performance.
Can you disinfect cleaning tools?
Yes, but cleaning should always come first. According to the CDC, visible dirt and debris should be removed before disinfecting so the disinfectant can work effectively.
Why do microfiber cloths stop absorbing?
The most common causes are detergent buildup, fabric softener residue, hard water minerals, and excessive heat during drying.
How often should mop pads be replaced?
Replace mop pads when the fibers no longer clean effectively, the hook-and-loop backing wears out, or the stitching begins to fail.
How often should vacuum filters be cleaned?
Follow your vacuum manufacturer’s recommendations. Washable filters should be cleaned regularly, while disposable filters should be replaced according to the maintenance schedule.
Can you wash microfiber with cotton towels?
It’s best not to. Cotton releases lint that can become trapped in microfiber fibers, reducing cleaning performance.
What’s the best way to remove odors from cleaning cloths?
Wash them promptly after use, avoid leaving them damp, and occasionally deep clean them with a microfiber-safe detergent soak.
What’s the biggest mistake people make with cleaning supplies?
One of the biggest mistakes is putting tools away dirty or wet. A few minutes of cleaning and drying after each use can dramatically extend their lifespan while improving cleaning performance.
Additional References
- CDC – When and How to Clean and Disinfect Your Home
- EPA – Indoor Air Quality
- American Journal of Infection Control (2022) – Comparing the Microbial Removal Efficacy of New and Reprocessed Microfiber…
- American Journal of Infection Control (2010) – Evaluation of the Decontamination Efficacy of New and Reprocessed Microfiber Cleaning Cloth…
The products the pros won’t clean without
Our best sellers aren’t best sellers by accident. These are the microfiber towels, mops, and dusters that professional cleaning crews order again and again — the same products that cleaners at some of the largest cleaning companies in the country depend on every single shift.
When your reputation rides on every surface you touch, you don’t gamble on your tools. These are the ones that have earned their spot — wash after wash, job after job.


