Step-by-Step Guide on How to Wash Walls Like a Pro
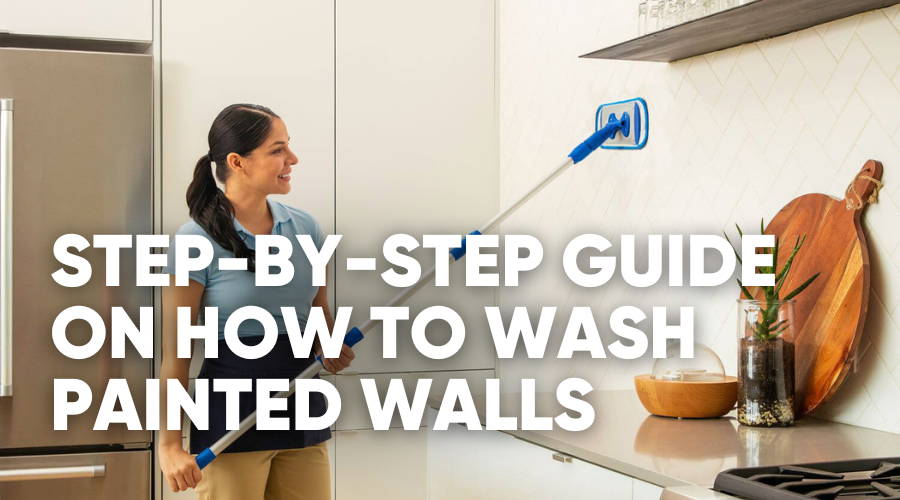
The idea is to work in sections. If you’re working on a large wall, mentally divide it vertically so you’re working in a space that’s about six feet wide at a time. If you’re cleaning a large home, it might be best to break the wall washing into several days, tackling 2-3 rooms per day.
Step One: Dust
You need to remove any loose debris and dust before washing the walls. Get your duster and attach the mop’s extension handle to it. Then working from the top to bottom in your six-foot-wide sections, wipe the duster down to remove and dislodge any debris.
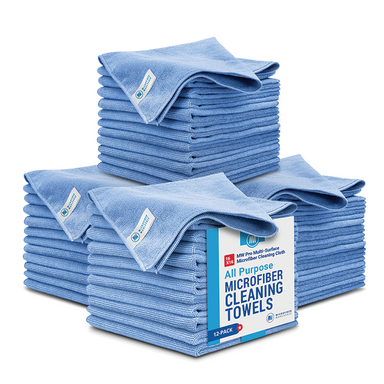
Dust all the way down to the baseboard. You can either use the duster or a microfiber towel to wipe the baseboard. And dust all of the walls you intend to clean that day before moving onto step two.
It’s also a good idea to wear a face mask here if the wall is particularly dusty.
Step Two: Remove Marks
Next, use the Magic Eraser to remove any noticeable scuff marks and dirty spots. The eraser will easily remove many, if not most marks, leaving the surface ready for washing.
Step Three: Prepare Mop
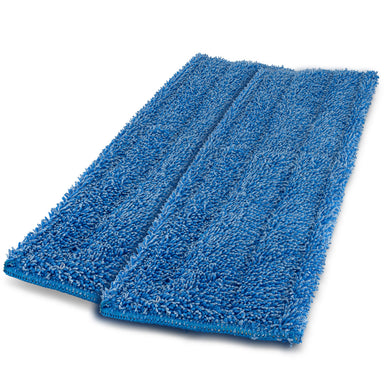
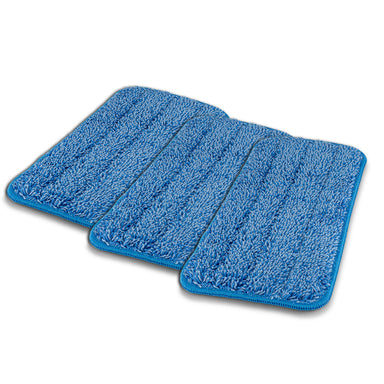
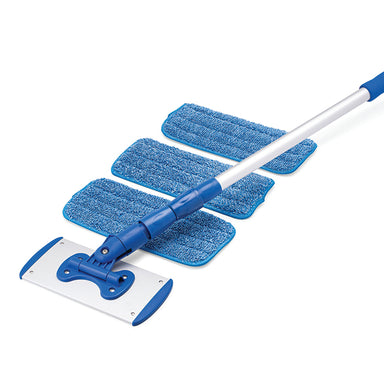
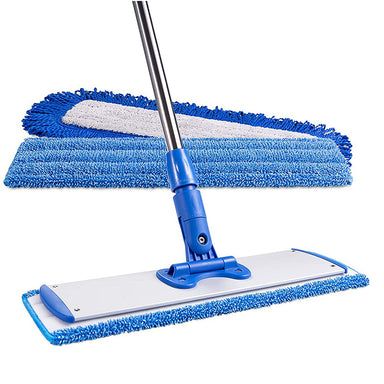
Remove the handle from your duster and attach it to the Wall Wash Mop Frame. Take one of the microfiber mop pads and attach it to the mop. If the walls are particularly grimey, you can first wet the mop pad and wring it out. But it’s not necessary.
You can also lock the frame of the mop so it’s vertically positioned. This will make it easier to clean certain angles of the wall.
Step Four: Dilution
Get your spray bottle and dilute one tablespoon of Sal Suds cleaner in one quart of water. Set the spray bottle to spread in a mist rather than a direct stream. Then spritz it lightly onto a section of the wall where you’re working, from top to bottom.
Step Five: Wall Washing
Using light arm strength, mop up and down the wall in a scrubbing motion. You don’t need to scrub hard, as this can damage the paint.
For areas with more build-up, you may need to spray more cleaning solution and allow it to sit for several minutes so it has time to loosen the debris. Then work the mop firmly over the area, again in an up and down motion.
The microfiber pads of the mop are effective at lifting most dirt and grime with minimal effort. And the length of the mop handle makes it so you never have to struggle to reach most high ceilings.
Step Six: Observe
This is where you check over the walls to see if there are any missed spots or stubborn grime. Respra, and allow the cleaner to sit before going over the spot again.
Also check if any residue has dripped down to the baseboard or floor, and wipe it up with a dry microfiber towel.
Step Seven: Clean Up
Because you didn’t use a lot of liquid, the clean-up is very minimal and easy. All you need to do is toss the microfiber mop pads, towels, and duster cover into the washing machine together with a mild detergent on medium heat. Always air dry or use low heat dryer settings when drying microfiber.
