Step-by-Step Guide to Removing Mold From Windows
Damp conditions such as humidity and condensation are the main reasons why mold forms on your window sills and frames. When moisture collects and is left unintended, it is a perfect environment for mold to form. Dirt also contributes to the growth of mold because it provides nutrients for the mold to feed from.
Step One: Removing Excess Mold
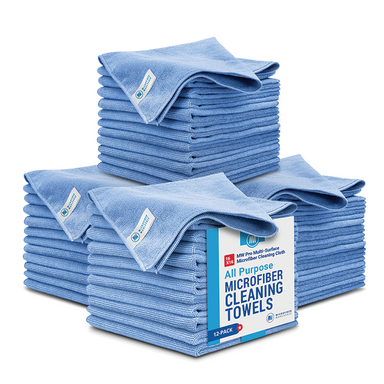
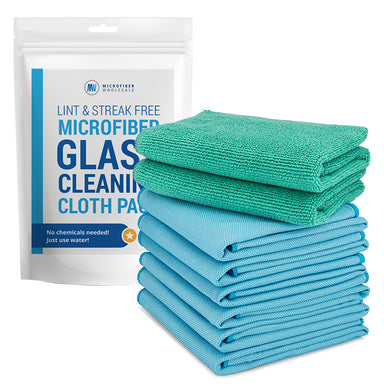
Before you start make sure you open the window for extra ventilation. Dampen the area by spraying it with water. The goal of this is to ensure the mold spores don’t spread while you are cleaning. Then wipe with a dry disposable cloth (we recommend microfiber, more on this below). The goal here is to not scrub and remove all the mold, but just get rid of what is easily wiped away.
Step Two: Deep Cleaning Mold with Bleach, Vinegar, or Hydrogen Peroxide
When researching the best ways to remove mold from windows, bleach was the most commonly mentioned. However, according to this article by Mold Help for You, you should never use bleach to kill mold because it only kills surface mold, thus will grow back. They recommend using vinegar instead.
Pour undiluted distilled white vinegar into a spray bottle and spray the affected area generously. Let the vinegar sit for about 60 minutes before wiping the area clean with warm water and a disposable cloth. Spray the affected areas one more time and let them air-dry to ensure you have fully killed the mold.
If you don't have vinegar, hydrogen peroxide is another great, natural alternative to bleach. Fill a spray bottle with at least a 3% concentrate of hydrogen peroxide. For non-porous surfaces like glass, mix it with equal parts hot water and spray the mold and let it sit for 15 minutes. Then rinse and wipe away with your cloth.


