The Trick to Taming Toilets
Toilets can be the source of many cleaning woes, from disgusting germs to stains that won’t seem to budge. But the secret to conquering the commode lies not in complicated rituals but in understanding the basics of the chemistry involved and maintaining a routine, along with a few special tricks from the experts sprinkled in for good measure!
Frequency is Your Friend:
Cleaning toilets is a task most dread, but the key to keeping them in check lies in regular maintenance. Frequent cleaning prevents stubborn build-ups and reduces the need for heavy scrubbing sessions.
Properly Identify Your Stain Enemies:
Knowing the difference between hard water stains and mold or mildew is crucial. Mold and mildew can present as pink or black patches, whereas hard water stains often resemble the greenish hue of the Statue of Liberty, the orange tint of rust, or even a deep brown.
Mineral-based stains and mold based stains must be treated very differently. Mineral stains call for acids that help dissolve them. Mold and mildew can be treated with bleach which whitens and kills spores.
Use Caution with Chemistry:
The two critical mistake to avoid is NEVER use bleach on iron or rust stains and NEVER use bleach and acid together. The bleach will oxidize the iron causing the metal to rust more, making it even more challenging to remove. Bleach will also react with acids like hard water cleaners and vinegar, releasing toxic deadly fumes.
Let The Soap Soak:
Before every clean, spray a generous amount of bathroom cleaner on the entire toilet, inside and out, including often forgotten spots like the toilet base and under the seat. Let the spray soak for at least 10 minutes to break down grime, minerals, and germs.
Move Methodically:
The key to getting a fully clean toilet without wasting tons of microfiber towels is to work strategically. Start from the outside and work your way in, from the top down. From toilet tank lid to base, from lid to under seat, then finally, the inner bowl. This technique ensures that germs are managed effectively and that you're not just spreading them around. Cleaning systematically also reduces the chances of missing spots, ensuring a thorough clean.
Embrace Abrasives:
When even a long soak in the right acidic bowl cleaner hasn’t dissolved stubborn mineral buildup, don’t be scared of employing the professional’s favorite, the Pumie stick. This pumice stone brick is just hard enough to scrape off minerals without being so hard as to scratch porcelain, so scour with confidence and watch the worst deposits melt away with only a few strokes.
Color Code Your Tools:
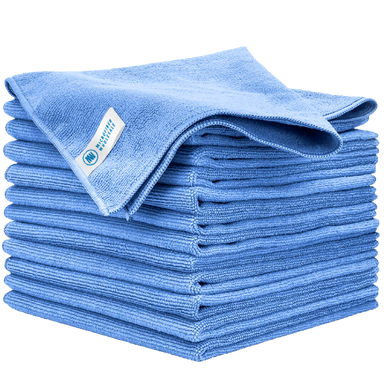
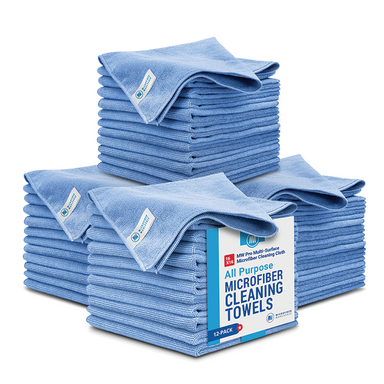
Microfiber cloths have changed the cleaning game, but to prevent cross-contamination, color-coding is essential too. Red is the universal color for toilets. By ensuring that microfiber cloths used on toilets are exclusively red, you eliminate the risk of inadvertently spreading toilet germs to other parts of your home.
Step-by-Step Toilet Cleaning Instructions:
-
-
Prepare Your Supplies:
-
-
A bristle toilet brush
-
Toilet bowl cleaner (Bleach or Acid)
Clorox Clinging Bleach Gel
Zep Acidic Toilet Bowl Cleaner
-
Bathroom Cleaning Spray (Bleach or Acid)
Lysol Power Foaming Cleaning Spray (acidic)
Tilex Mold & Mildew (bleach)
-
A pumice stick (Pumie stick)
-
Microfiber Multisurface Towels (Red Color Coding Recommended)
-
Identify Stains:
Before starting, inspect the toilet for stains. Determine if they are hard water stains (greenish, rust orange, or brown) or mold/mildew (pink or black).
3. Select Bleach or Acid Attack:
Use acidic spray and bowl cleaner for minerals and bleach spray and bowl cleaner for mold. NEVER use an acidic and bleach-based cleaner on the same toilet at once, as dangerous fumes can result from mixing chemicals.
4. Apply Bathroom Cleaners:
Spray the bathroom cleaner all over the toilet – on the exterior and interior, ensuring to cover the base, the underside of the seat, and other often overlooked areas. Apply bowl cleaner under the rim and inside the bowl
5. Take 10:
Allow the bathroom cleaner to soak for a minimum of 10 minutes. This soaking will help break down grime, minerals, and germs, making the scrubbing process more effective. Longer may be necessary for heavily neglected mineral build-up.
10. Start from the Outside Top:
Begin your cleaning process from the outermost parts of the toilet. Clean the toilet tank lid first.
11. Move to the Outside Bottom:
After the tank lid, progress to the tank, working your way down to the base. Don’t forget to wipe the patch of floor behind the base, as most mops will not fit there.
12. Clean the Seat:
Wipe down the top of the toilet seat, and don’t forget to lift it and clean the underside as well. Then wipe down the seat and the underside of the seat, being sure to wipe out soils hidden under the seat by the hinge. Dispose of the towel immediately after to be laundered, and do not use it on any other surface.
13. Brush the Bowl:
Now, attend to the inner bowl. Scrub with the brush, first scour under the rim and then clean the main area of the bowl in methodical overlapping strokes. Flush and check your work, scrubbing more as needed. Rinse the brush in freshly flushed water.
14. Tackle the Tough Stuff:
If there are hard water stains that haven't budged even after a soak and scrub, this is the time to use the Pumie stick. Reapply some bathroom spray and scrub away stubborn mineral deposits. Be sure the toilet is fully clean, disinfected, and flushed before attempting to scrub away mineral deposits.


 By continuing with your order, you acknowledge and agree to the following: